Saturday 12 February 2022

Funky Purple Tag

  Hello!

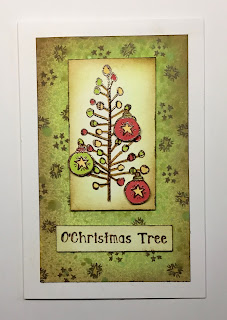
This week I decided to create a large tag...

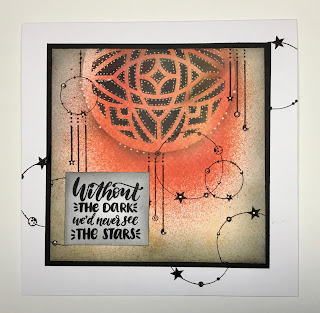
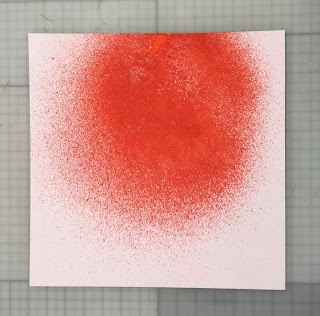
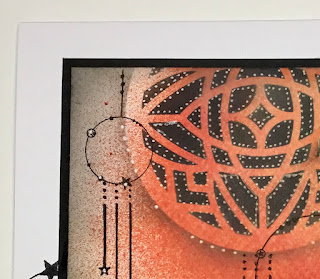
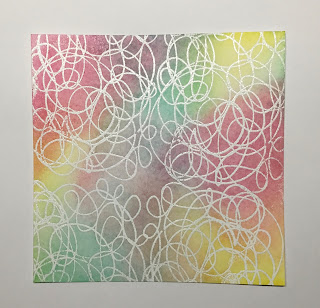
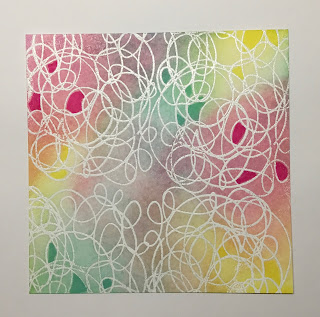
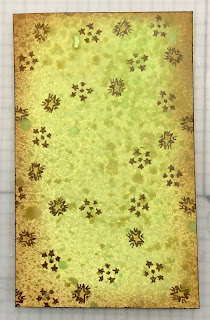
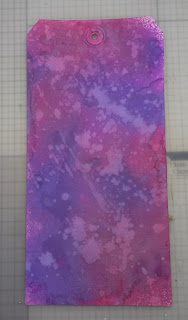
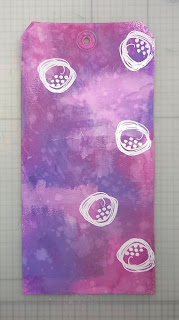
1) I started by spraying Wilted Violet and Seedless Preserves distress oxide sprays onto a large tag.  Then to create a more chalky look I spritzed some more water, then added droplets of water which I then lifted with some kitchen towel...

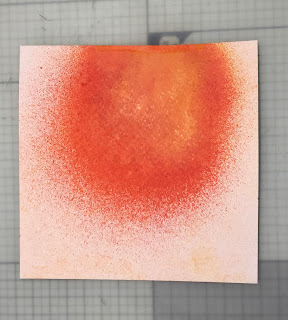
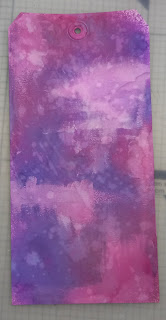
2) To bring a bit more lightness into the tag I added some white gesso in patches, blending it in with my finger...

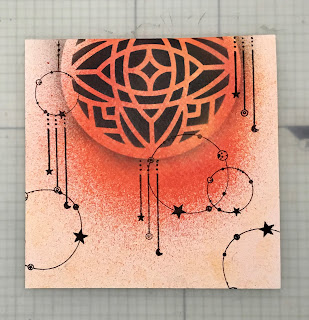
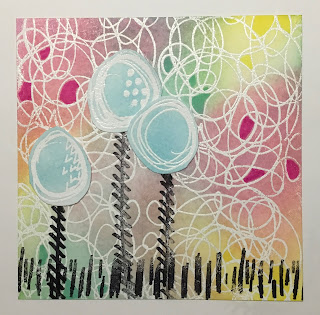
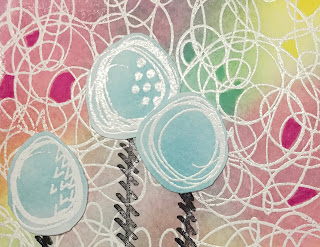
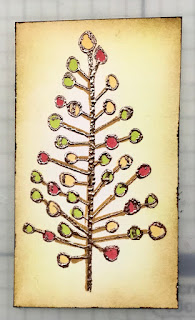
3) Using the Art Journal Elements #2 stamp set, I stamped one of the circles using embossing ink then heat embossed with white superfine powder...

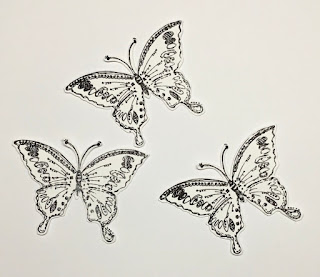
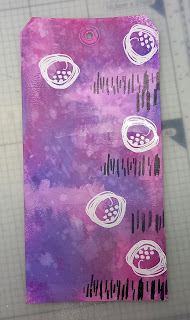
4) Then from the same stamp set I stamped the lines using black Hero Arts ink...

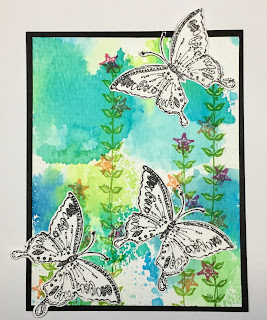
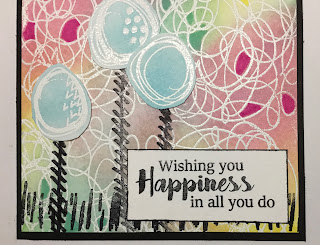
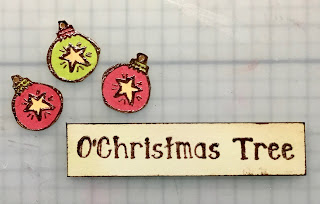
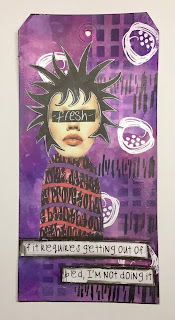
5) To add extra detail I used one of the tag inkables with Villainous Potion distress ink, then glued on some of the Dylusions collage elements...


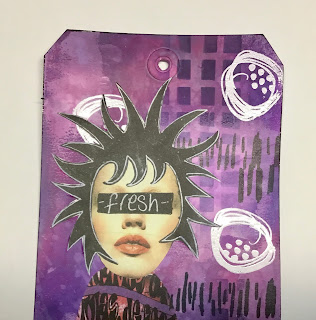
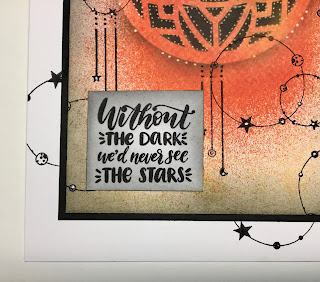
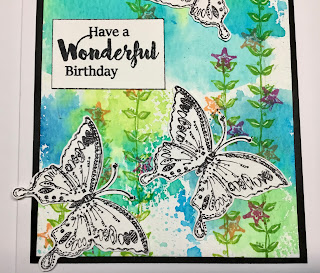
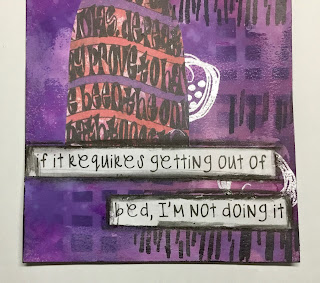
6) Finally I added a sentiment from the Dylusions back chat stickers and drew around them using some black watercolour pencil...

Here are the products used:

Distress Oxide Sprays

* Distress Ink Pads

White Gesso

Hero Art Inkpad  - Black

Art Journal Elements #2

Tag Inkables

Dylusions Collage Paper & Back Chat Stickers

Ranger Superfine White Embossing Powder

Thank you for looking and happy crafting!

Jane xx

Saturday 5 February 2022

Roarsome Green!

  Hello!

This month over in the Bee Crafty group on Facebook there is a challenge to create a project using just one colour plus black and white.  So this week I decided to use the challenge for my card...


1) First I decided that the colour I wanted to use was Bundled Sage, so started by blending through the Fernando large inkable using distress ink.

2) Next I used the same inkpad to stamp the leaves from the T-Rex set around the edges of the card.  Then I added the definition from the set.

3) To make it stand out I used black archival to stamp the main T-Rex image then painted some of the green ink onto the image that I had smooshed onto my blending mat.

4) To tie in I stamped the definition out again but this time in black ink before matting onto black and then a white card blank.


Here are the products that I used:


Thank you for looking and happy crafting!

Jane xx

Saturday 29 January 2022

'Without Darkness' Card

  Hello!

This week I decided to create a card without really knowing where it was going to lead...


1) I decided to choose my first colour by just reaching for the first bottle of distress oxide spray that I came to and it was Candied Apple.  I sprayed it on one main area of a piece of watercolour cardstock then dried it...


2) As the first colour was red I decided to then repeat the process using Wild Honey and next Squeezed Lemonade...


3) As the colours were quite fiery and the spray reminded me of the sun or a planet I let that guide my choice of stencil and colour.  I went for one of the texture discs and Black Soot distress ink...


4) As the card was now developing a celestial feel I chose the La Luna stamp set and added some of the elements using black archival ink...


5) I wanted some contrast so added some white gel pen dots.  However this did take on some of the distress oxide colour from underneath, but I quite liked the effect.  Then to create more of a frame I blended some more Black Soot distress inks around the edges...


6) Finally I stamped out one of the sentiments and after edging it with more black adhered it straight to the front of the card.  I then decided to add a few more of the stamped images to the card blank before adding the decorated piece to the front...


Here are the products used:


Thank you for looking and happy crafting!
Jane xx


Saturday 8 January 2022

Birthday Butterflies

  Hello!

This week I have created a birthday card ready for the year ahead...


1) I started with a piece of distress watercolour cardstock.  I scribbled Ecoline markers onto a circle slim acrylic block then after spritzing with water printed onto the card.  I did this a number of times until I was happy with the result...


2) Next I used the leafy vine from the Butterfly Doodle Art set and stamped in green.  Then I added some of the star flowers from the same set in pink and orange.  I coloured the leaves in with a green pen then added a little bit of white highlighting...


3) Then I stamped out the butterfly from the set 3 times and cut them out leaving a slight border around them...


4) After I had matted the card onto black, I stuck the butterflies down...


5) Finally I added the card to a 7" x 5" card blank then stamped out a sentiment from Everyday Sentiments 2 which was added to the card front...


Here are links to the products used:


Thank you for looking and happy crafting!
Jane xx


Saturday 1 January 2022

Wishing You Happiness

  Hello!

Happy new year to you all and for my project this week I have created a card to wish you all happiness for 2022...


1) First I stamped the scribble background across a piece of card using embossing ink then heat embossed in white.  Next I used distress inks in mustard seed, tumbled glass and kitsch flamingo to create some colour and wiped any excess off of the embossing...


2) Using pens I then coloured in a few of the areas to create a bit more contrast...


3) Using embossing ink and white powder again I embossed and cut out the three circles from the Journaling Elements 2 set and then coloured them with tumbled glass distress ink.
Next I used some more of the stamps from the Journal Elements set with black archival ink to create some foliage before sticking on the circles...


4) Finally I stamped out one of the sentiments from Everyday Sentiments 2 before matting and layering all the parts together...


Here are the products that were used:


Thank you for looking and happy crafting!
Jane xx


Saturday 11 December 2021

O' Christmas Tree!

  Hello!

This week I have created another Christmas card to add to my collection...

1) First I used the Twisted Citron and Crushed Olive distress oxide sprays on a piece of card...


2) Next I stamped the small stars from the Doodle Art Baubles set in brown ink, coloured the stars in yellow then added some Twisted Citron and Vintage Photo distress ink around the edges...


3) Having cut another smaller piece of card I stamped the Christmas tree and coloured in the circles before adding the same distress inks to the edges...


4) For the finishing elements I stamped out one of the baubles three times, cut them out and coloured them to match the tree.  Finally I stamped out one of the sentiments and edged the same as the other piece before adding them to the card...


Here are the products used:


Thank you for looking and happy crafting!
Jane xx


Saturday 4 December 2021

Just Be You!

  Hello!

This week I have created a really quick and easy card using background stamps...


1) I cut a piece of watercolour card 4 1/2" square and spritzed it with water before adding Pretty Gets Gritty sprays (Coastal Waters, Emerald Haze, Vintage Violet, Blushed Dreams).

2) Using the Art Journal Elements 2 stamps with the distress archival inks I stamped the background.

3) I then stamped a sentiment from Handwritten Words 1 in black archival and layered the card onto black.

Here are the products used:

* PGG Amazing Sprays - https://www.beecrafty.net/pretty-gets-gritty.irc?pg=1

* Art Journal Elements 2 - https://www.beecrafty.net/art-stamps-journal-art-elements-2.ir

* Handwritten Words 1 - https://www.beecrafty.net/wordage-sets-handwritten-words-1.ir

* Archival Ink pads - https://www.beecrafty.net/archival-ink-hero-arts.irc

Thank you for looking and happy crafting!

Jane xx